 Save
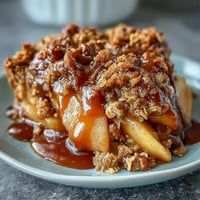
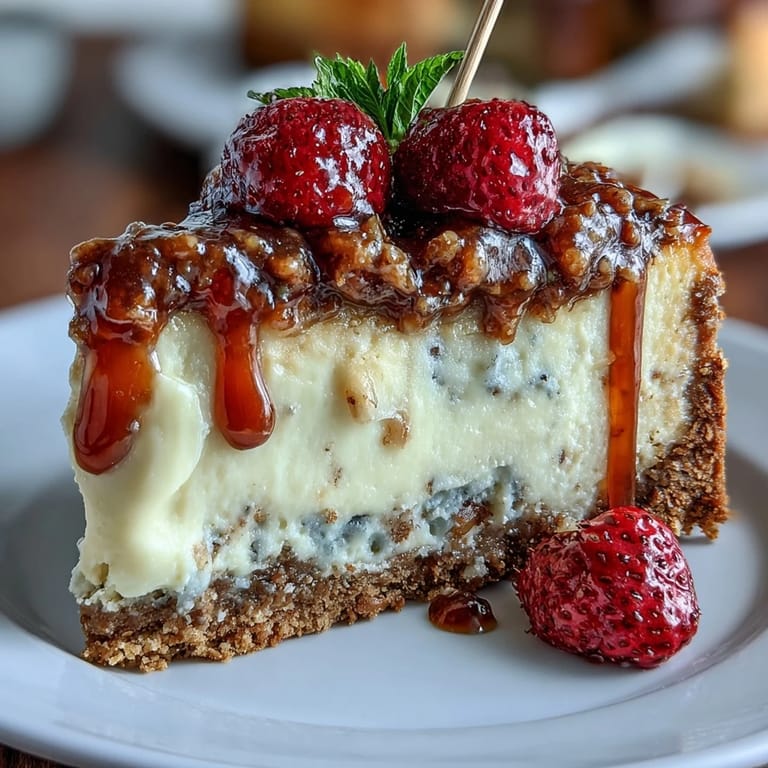
Save My cousin texted me three weeks before graduation asking if I could bring something special to the celebration dinner, something that would make people smile. I'd been playing around with mini cheesecake recipes that spring, frustrated by how much time full-sized versions demanded. That afternoon, watching the tiny graham cracker crusts bake in my muffin pan, something clicked—these little bites could be both elegant and playful, sturdy enough to hold a tiny diploma pick without falling apart. When I arrived at the party with a box of these golden, berry-topped treasures, my aunt immediately grabbed two and declared them the perfect graduation dessert. Sometimes the best dishes emerge not from tradition but from a simple challenge and a little curiosity.
I'll never forget my neighbor stopping by while I was photographing these for a birthday party, stealing one straight from the cooling rack, and declaring it the perfect size for sneaking dessert without guilt. She came back the next week asking for the recipe because apparently she'd told everyone at her office about them. That's when I realized these weren't just cute—they were genuinely craveable, the kind of dessert people actually remember.
Ingredients
- Graham cracker crumbs (1 cup): The foundation of your crust, and it truly matters whether you pulse them fresh or use pre-made—fresh always tastes buttery and less dusty, plus you control the texture better.
- Granulated sugar (2 tbsp for crust, 1/2 cup for filling): Don't skip the sugar in your crust; it prevents the filling from tasting one-dimensional and gives the whole bite a balanced sweetness.
- Unsalted butter, melted (4 tbsp): This binds everything and creates those little pockets of richness that make people close their eyes when they bite in.
- Cream cheese, softened (12 oz): Room temperature is non-negotiable here—cold cream cheese will lump in your filling and no amount of mixing fixes it gracefully.
- Egg (1 large): Acts as the structure keeper; too many and your bites become custardy, too few and they won't set properly.
- Vanilla extract (1 tsp): A quiet player that prevents the filling from tasting flat or overly cheese-forward.
- Sour cream (2 tbsp): This is the secret that makes the difference between a dense bite and one that practically melts—it adds a subtle tang and keeps everything tender.
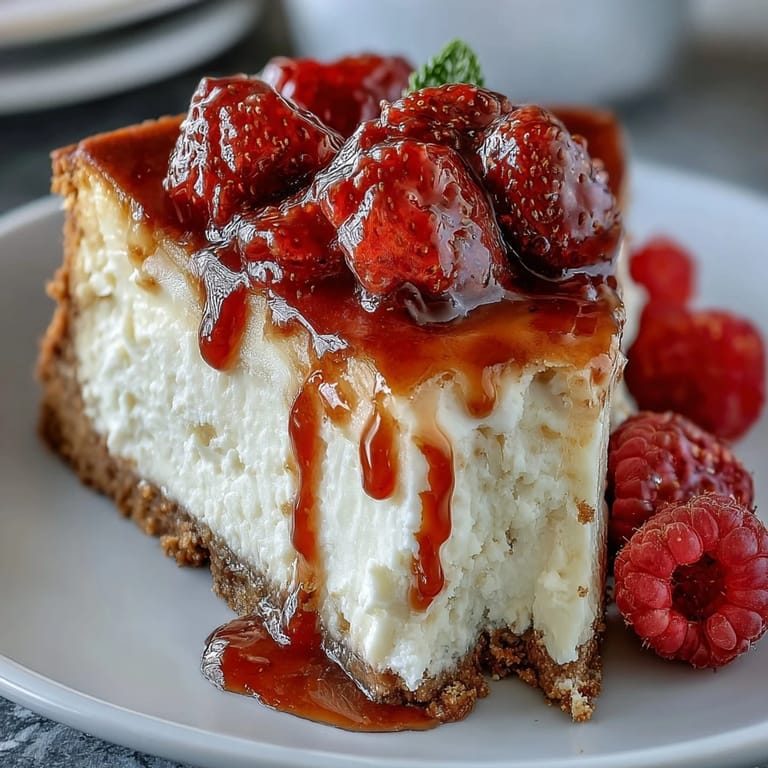
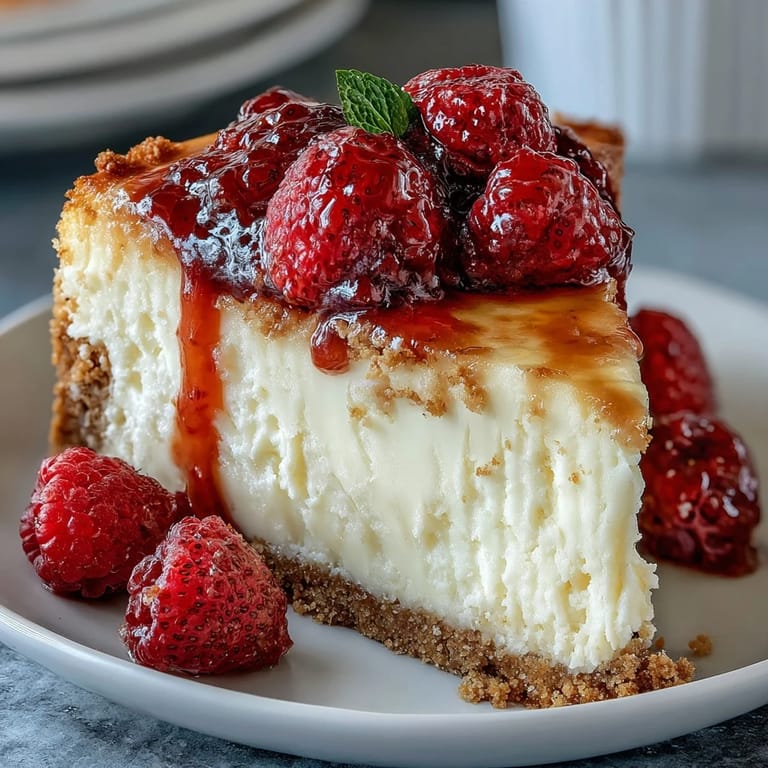
- Fresh mixed berries (1/2 cup): Diced small so they nestle into the tops without rolling off, and honestly, the brightness matters both visually and in flavor.
- Fruit preserves (2 tbsp, optional): A brush of this gives these bites a professional gloss that makes them look like they came from a bakery.
Tired of Takeout? 🥡
Get 10 meals you can make faster than delivery arrives. Seriously.
One email. No spam. Unsubscribe anytime.
Instructions
- Get your pan ready:
- Preheat your oven to 325°F and line a 24-cup mini muffin pan with cupcake liners—I learned the hard way that 325 is gentler than 350 for preventing cracked tops. This lower heat also keeps the centers from setting too quickly before the tops cook through.
- Mix and press the crust:
- Combine graham cracker crumbs, sugar, and melted butter in a bowl until it looks like wet sand, then spoon about a teaspoon into each liner and press down firmly with your thumb or the bottom of a small glass. The pressure matters; a loose crust will separate from the filling as it bakes.
- Bake the foundation:
- Give those crusts 5 minutes in the oven, then pull them out and let them cool for just a minute or two. This pre-bake step prevents soggy bottoms, which I discovered after making dozens of ruined batches.
- Beat the filling:
- In a separate bowl, beat softened cream cheese and sugar together until absolutely smooth and pale, about 2-3 minutes, because lumpy filling shows up in the final texture. Add your egg, vanilla, and sour cream and blend gently just until combined—overmixing incorporates too much air and causes the tops to crack.
- Fill and bake:
- Spoon about 1 tablespoon of filling into each crust, smoothing the tops with the back of a spoon, then bake for 13-15 minutes until the centers jiggle just slightly when you tap the pan. You want them set but not fully firm; they'll finish setting as they cool and chill.
- Cool and chill:
- Let them sit in the pan for 15 minutes, then transfer to a wire rack to cool completely before refrigerating for at least 1 hour. This resting period is what transforms them from warm custard into actual cheesecake with structure.
- Top and decorate:
- Once chilled, scatter your diced berries across each bite and, if using preserves, warm them gently and brush lightly over the fruit for a jeweled finish. Insert diploma picks at the last moment so they stay crisp and stand proud.
 Save
Save There's something about watching someone's face when they realize a dessert this pretty and polished came from your kitchen, not a bakery case. These bites have a way of making ordinary moments feel celebratory, which is honestly why I keep coming back to them.
Why These Work for Celebrations
Graduation parties, engagement brunches, promotions at work—these bites have this special ability to feel fancy without demanding hours in the kitchen or a culinary degree. Because they're individual and portable, guests can grab one with their hands and eat while mingling, which means your dessert actually gets appreciated instead of sitting on a table while everyone's distracted. The diploma picks transform them from just another cupcake-sized dessert into something that tells a story about the occasion, and that thoughtfulness is what people remember long after the party ends.
Small Tweaks That Make a Big Difference
I've experimented with swapping vanilla for almond extract, which gives everything a subtle nuttiness that pairs beautifully with raspberries. A tiny pinch of lemon zest mixed into the filling (about 1/2 teaspoon) brightens the whole thing without making it taste obviously lemony, and it's my go-to when berries feel plain. Some mornings I'll brush a thin layer of dark chocolate on the inside of each liner before adding the crust, which creates this surprise chocolate-cheesecake contrast that feels indulgent for something so small.
Storage and Make-Ahead Strategy
These keep beautifully in the refrigerator for up to three days in an airtight container, which means you can bake them the day before a party and just add berries and picks a few hours before serving. I've also frozen the unfrosted bites for up to two weeks, thawing them overnight in the fridge before topping them, which is clutch when you're juggling multiple events.
- Store in an airtight container in the coldest part of your fridge to prevent them from absorbing odors or drying out.
- Add the diploma picks just before serving so they stay crisp and stand up straight instead of wilting.
- If your berries weep liquid, pat them dry before placing them on top so the tops stay looking fresh.
 Save
Save These little bites have become my secret weapon for any celebration that deserves something special but doesn't have time for fuss. There's real joy in serving something handmade that tastes as good as it looks.
Recipe Q&A
- → What type of crust is used for these bites?
A buttery graham cracker crust forms the base, combining graham cracker crumbs, sugar, and melted butter pressed into mini pans and briefly baked.
- → How long should the bites chill before serving?
They require at least 1 hour in the refrigerator to set properly and develop creamy texture.
- → Can the berry topping be customized?
Yes, mixed fresh berries such as blueberries, raspberries, or strawberries can be used, with an optional brush of fruit preserves for extra shine.
- → Are there gluten-free options available?
Using gluten-free graham crackers allows the crust to be gluten-free, suitable for those with dietary restrictions.
- → What tools are needed to prepare these bites?
A mini muffin pan with liners, electric mixer, mixing bowls, measuring tools, and a wire rack are essential for preparation and cooling.