 Save
Save Last summer, my friend wouldn't stop talking about her Ninja Creami machine, so one sticky afternoon I finally asked to try it. She pulled out a pint of something frozen, slid it in, pressed a button, and out came these perfect, creamy ribbons of ice cream. I was mesmerized. That night, I decided to make my own version at home using Greek yogurt and protein powder, turning what felt like a dessert hack into something that actually tasted good and didn't leave me feeling guilty afterward.
I brought this to a small gathering last month, and watching people's faces when I told them it was high-protein ice cream made with Greek yogurt was priceless. One guest kept asking if I'd added some secret ingredient because she couldn't believe it was this smooth and creamy. That moment of surprise—when healthy food tastes genuinely delicious—is what keeps me making this.
Ingredients
- Greek yogurt: The base that gives you all that protein without the ice-cream machine calories—skyr works too if you can find it, and honestly tastes even creamier.
- Almond milk: Cuts the yogurt density so it freezes smoothly instead of turning into a dense block.
- Protein powder: Vanilla and chocolate both disappear into the mixture, but vanilla is my go-to for flexibility with toppings.
- Maple syrup or sweetener: Start with one tablespoon and taste—you might want less than you think once it's frozen.
- Vanilla extract: A teaspoon lifts the whole flavor profile, making it taste less like a supplement shake.
- Salt: Just a pinch, but don't skip it—it brings everything into focus.
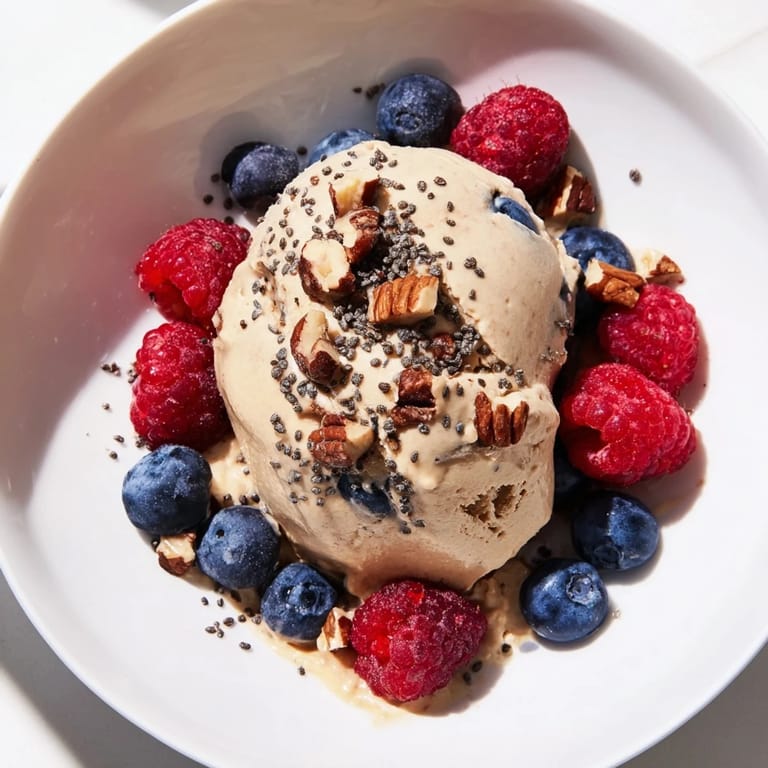
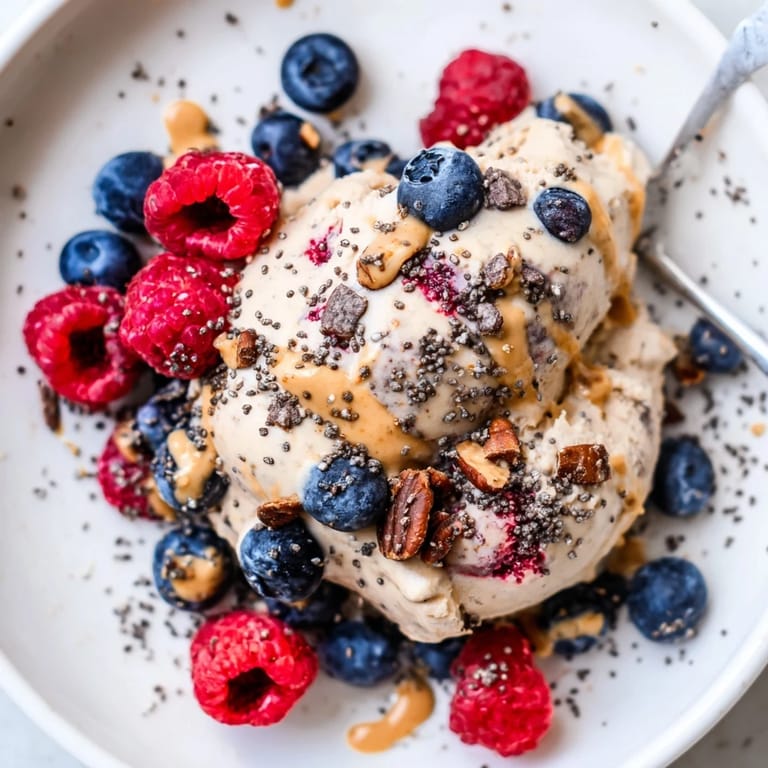
- Toppings: Fresh berries add brightness, nut butters add richness, chocolate chips give you little moments of joy, and seeds add texture.
Tired of Takeout? 🥡
Get 10 meals you can make faster than delivery arrives. Seriously.
One email. No spam. Unsubscribe anytime.
Instructions
- Blend your base:
- Add yogurt, milk, protein powder, sweetener, vanilla, and salt to a blender and blend until completely smooth with no powder specks. This usually takes 30 to 45 seconds, but take your time here—lumpy mixture freezes unevenly.
- Pour and level:
- Transfer the mixture to your Ninja Creami pint container or any freezer-safe pint-sized container, making sure the top is relatively level. A crooked surface will throw off the creami machine's rhythm later.
- Freeze overnight:
- Pop it in the freezer for at least 8 hours, though overnight is ideal—this gives you that solid, uniform texture the machine needs to work its magic.
- Creami time:
- Remove the pint from the freezer, install it in your Creami machine, and run it on Ice Cream mode according to your machine's instructions. Watch the ribbons form—it's oddly satisfying.
- Adjust as needed:
- If it comes out too thick, add a splash of milk and spin again. If you want it even creamier, re-spin without adding anything.
- Top and serve:
- Scoop into bowls and add whatever toppings are calling to you. Serve immediately while it's still cold.
 Save
Save There's something special about pulling a homemade frozen treat out of the freezer that actually aligns with your goals instead of fighting against them. My kids now ask for this instead of ice cream from the store, and I've stopped feeling defensive about dessert time.
Flavor Variations to Try
The beauty of this recipe is how customizable it is. Chocolate lovers can swap vanilla protein powder for chocolate, or add 1 tablespoon of cocoa powder to the base. For a mocha vibe, dissolve 1 to 2 teaspoons of instant coffee in the almond milk before blending. If you want something fruity, blend in a quarter cup of frozen berries or 2 tablespoons of fruit puree before freezing.
Making It Your Own
Once you make this a few times, you'll start thinking about it differently. Some people add a tablespoon of almond butter to the base itself for deeper flavor. Others steep the almond milk with cinnamon or a tiny pinch of cardamom before blending. The protein powder you choose changes everything too—if you use chocolate, suddenly you have license to add caramel topping or a drizzle of maple syrup.
Storage and Make-Ahead Tips
This is one of those recipes that gets better with planning. You can make three or four pints at once and keep them in the freezer for up to two weeks, grabbing one whenever you need a quick, protein-packed snack. Let it sit in the freezer for the full 8 hours before spinning—rushing it will give you a slushy mess instead of that satisfying creamy texture. Keep toppings in small jars nearby so assembly takes all of thirty seconds.
- Freeze pints in the back of your freezer where it's coldest for more consistent results.
- If your mixture separates slightly after a few days, just blend it again before freezing.
- Toppings like nuts and seeds stay crunchier if you add them right before eating, not earlier.
 Save
Save What started as curiosity about a kitchen gadget turned into one of my favorite healthy rituals. Now it's the treat I actually look forward to.
Recipe Q&A
- → How long should the mixture freeze?
The blend should freeze for at least 8 hours or overnight to achieve the right consistency.
- → Can I use plant-based ingredients?
Yes, substitute dairy yogurt and milk with plant-based alternatives and use vegan protein powder for a dairy-free version.
- → What toppings work best?
Fresh berries, nut butters, chocolate chips, chopped nuts, and chia or hemp seeds add texture and flavor.
- → Is this suitable for a gluten-free diet?
Yes, as long as all ingredients are certified gluten-free, this treat fits gluten-free needs.
- → How can I adjust sweetness?
Maple syrup or preferred sweeteners can be added to taste, or omitted for a lower-sugar option.
- → What equipment do I need?
A blender and a freezer-safe container are essential. An ice cream maker like the Ninja Creami can enhance texture but isn’t required.